In today’s digital world, security cameras have become a key to safeguarding your home and offices. Among plenty of solutions available, Annke stands out as a reputable and reliable surveillance device, with advanced security features. However, to maximize the full potential of this security gadget, it is essential to understand and perform the Annke Camera Login.
Therefore, this guide delves into the complete process and stepwise instructions to access the Annke camera admin panel. Also, you will learn the key steps required to accomplish the Annke Camera IP Login. Moreover, you will also learn some quick tips to optimize the performance and maintain the security of your surveillance device. Let’s dive in!
Prerequisites For the Annke Camera Login
Before accessing the Annke camera interface, ensure that all below-mentioned prerequisites are met:
- A Stable internet connection
- Valid login credentials
- An active Annke Vision account
- SADP tool installed on a compatible device
- Annke Vision app
- Smartphone/Computer
- Ethernet cables, etc.
Moreover, your device must be compatible with Internet Explorer (IE10 OR IE1), as the plug-ins required for the Annke camera login are available on this web browser. Modern browsers like Mozilla Firefox or Google Chrome don’t have support for the NPAPI plugins, necessary for the camera functionalities.
How to Login to the Annke IP Camera?
As defined earlier, if you want to access the Annke camera interface, you must perform its login first. However, Annke is a well-known brand in the security and surveillance industry, with a wide range of high-quality IP cameras, and DVR/NVR systems.
If you want to access and manage these security gadgets, you must know the available methods for this. Generally, you can perform the Annke Camera Login in two ways, i.e., via the Annke Vision app and the web interface using the SADP tool. To learn these comprehensive procedures, go through the below sections.
Step-by-Step Instructions to Annke Camera IP Login via Web Browser
- Initially, power on your Annke camera.
- Now, connect your computer to the home wifi network.
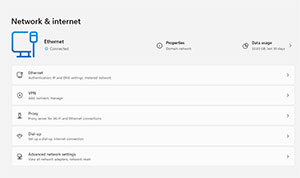
- After that, ensure that your camera is also linked to the same network
- Further, launch any web browser and go to annke.com.
- Then, locate the IP address of the Annke camera using the SADP tool.

- Hereon, a login window appears to you.
- Enter the valid login credentials in the respective fields and tap ‘Login’.
- Lastly, you are done with the Annke camera login.
Using the Annke Vision Mobile App For the Annke Login
- First, download or install the Annke Vision app on your smartphone.
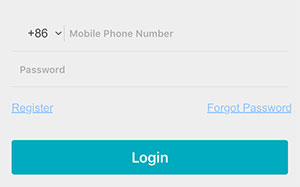
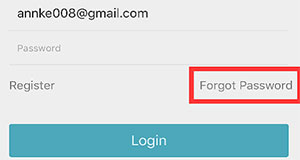
- Then, launch the app and you see the options to ‘Login/Register’ on the home screen.
- After that, select your Region or country.
- Now, tap on ‘Register’ and follow the in-app instructions.
- After creating an Annke Vision account, go back to the Login screen.
- Enter your valid credentials (Mobile Number or password) to log in.
- Finally, you are logged into the Annke camera app dashboard.
- Hereon, tap “+” to add your device to the app.
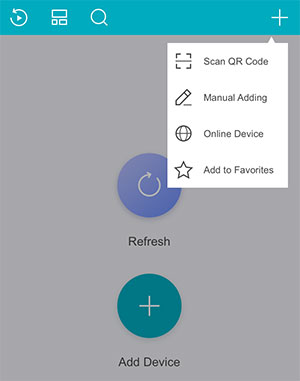
- Further, follow the app guidelines to connect your camera to the same wifi as your device.
- At last, the Camera IP login procedure ends here.
Final Words
In a nutshell, this guide effectively describes the Annke Camera Login procedure with quick and easy-to-follow instructions. However, you have now created an Annke Vision account and successfully logged into the Annke camera interface. Now, you can set up and control your home security settings from a single touch.